
How To
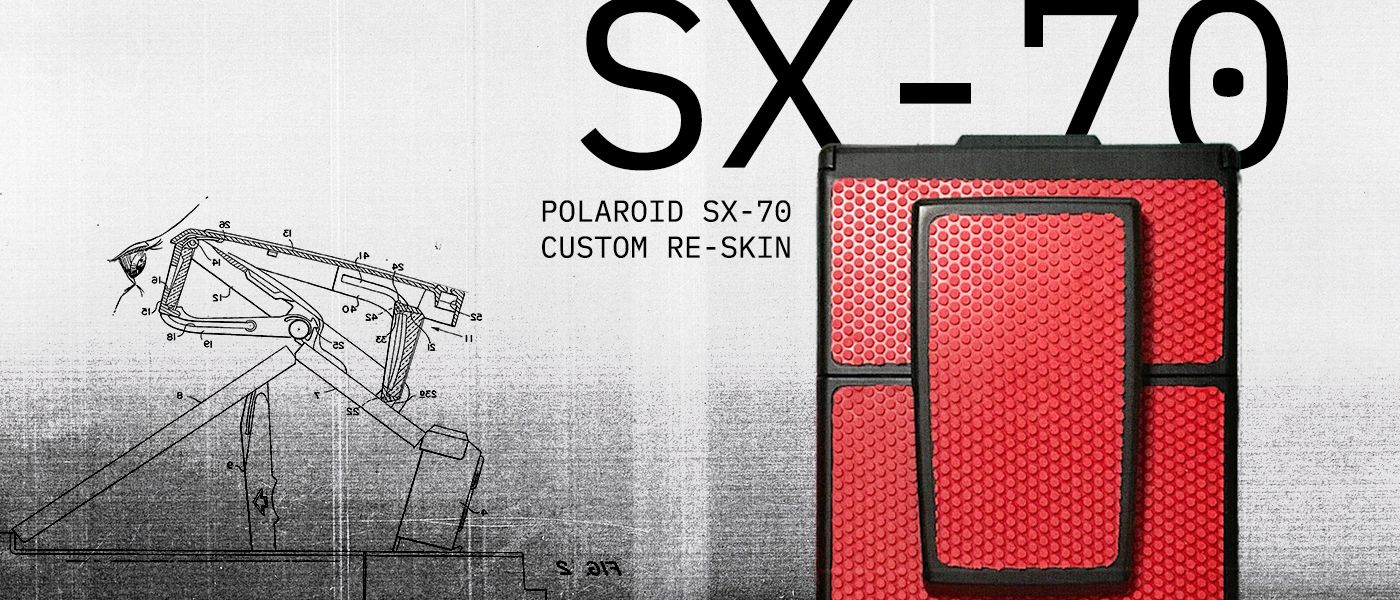
Custom Re-skin of the Polaroid SX-70
Years ago in 2016, Leica had released a limited edition camera designed in collaboration with artist and photographer — Rolf Sachs. Ever since then I’ve been in love with the black and red design, and the use of an unconventional material — like table tennis rubber on a camera. It serves both form and function, adding an aesthetic unlike any other and providing a highly functional easy-to-grip surface to hold.
Shortly after it was released, I knew I wanted to cover my own camera in table tennis rubber, and I knew the Polaroid SX-70 would be perfect.
One of the first polaroid cameras I had purchased was a Polaroid SX-70 Alpha 1 Model 2, and I had taken off the crumbling skin and re-covered it in black leather to create an all-black “Vader” SX-70. It has been one of the best Polaroid cameras I’ve shot with, being the most consistent and hassle-free.
Polaroid SX-70 Alpha 1 Model 2 specs:
Released on 8th June, 1977 — The Polaroid SX-70 Alpha 1 Model 2 features several upgrades from the original SX-70 model:
- Flash fill capability — the ability to use flash fill in daylight shadow conditions
- 4-element glass lens, 116 mm, f/8-f/22
- Manual distance setting
- Split screen range finder circle
- 10.4-inch (26 cm) minimum focusing distance
- Lighten / darken control setting possibility
- Neck strap connectors and tripod mount
Buying old Polaroid cameras
Buying used cameras can sometimes feel like a lottery. With the age of some of the cameras and the countless number of models, you never know which ones to go for. Once you’ve found one you’re interested in, it’s hard to know if it will work 100%.
Whenever possible, I always recommend testing out the camera before buying with a spare or empty cartridge. Some things to look for are:
- Does the camera eject the dark slide?
- How do the motors sound?
- Is there any mold or fungus in the viewfinder/lens element?
- Any cosmetic damage or holes in bellows (if SX-70)?
Sometimes you aren’t able to test out the camera beforehand, which you have to take a risk on purchasing. While I don’t recommend this, if you purchase a camera that hasn’t been tested and is listed as “as-is,” you can sometimes get a deal on the camera if it does work.
My recommended places to purchase cameras are:
- Local Classifieds (Kijiji, Facebook Marketplace, Craigslist)
- Ebay
- Thrift Stores
- Garage Sales
Re-skinning the Polaroid SX-70
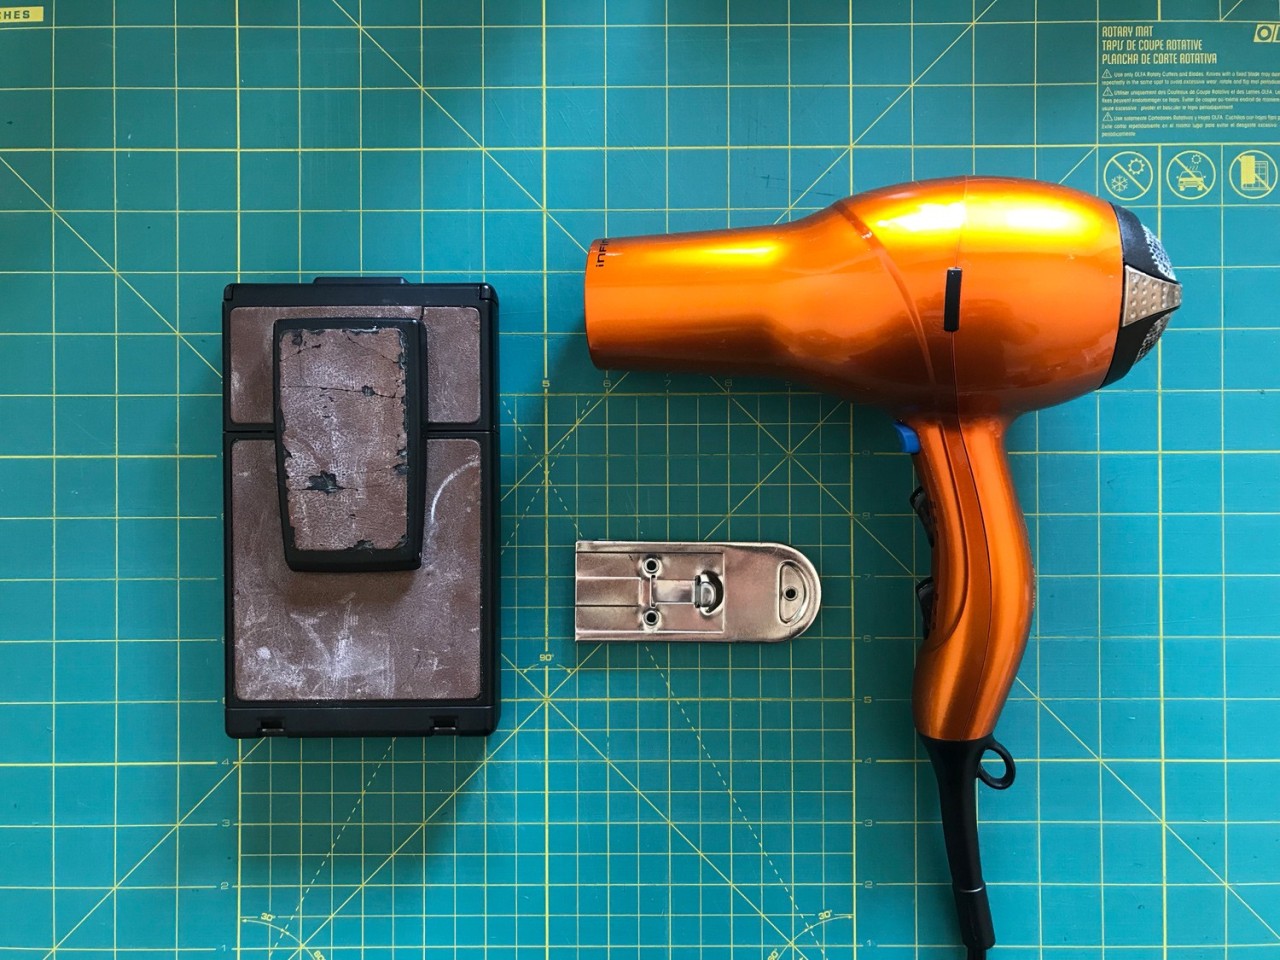
Before you start, you’ll need some tools:
- Paint Scraper
- Hairdryer
- Goo Gone
- Paper Towel
- Xacto Knife
- Sharpie — Thin
- Printable Cardstock
I’ll be recovering my camera in table tennis rubber, and it doesn’t come applied with adhesive so I had to pick up some adhesive sheets from Michaels also. I chose adhesive sheets vs a spray or liquid to avoid filling the different holes on the body, and if I ever had to remove the covering the layer of adhesive would be easier to remove than a spray or liquid adhesive. Adhesion may be sacrificed based on what you use, but the sheets are working okay for now.
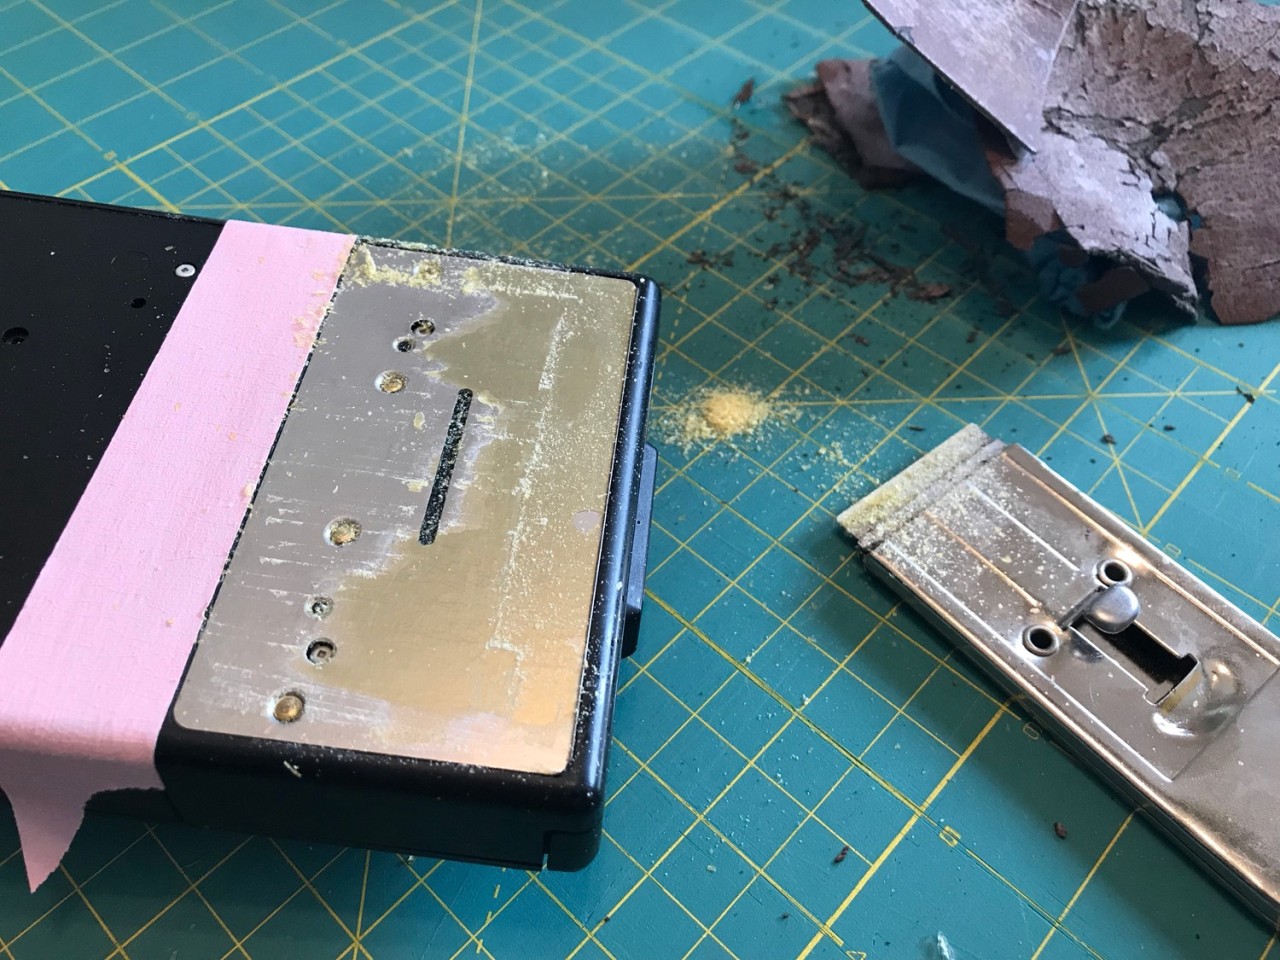
Step 1 — Removing the leather

Using the hair dryer on the high setting, heat up the leather one section at a time. Next, using the paint scraper at a low angle scrape pieces away. If the leather is still in decent condition, you may be able to lift and pull it off in one piece.
Once you have one section removed, wet the paper towel with the Goo Gone and rub the remaining residue off the camera.
*Note — NEVER use acetone to remove the residue, as it will eat the plastic finish on the camera. “Goo Gone” works best for removing this adhesive for some reason.

As you remove the leather, you may find chalk marks on the body of the camera. These were written on the pieces during the manufacturing process.
Once you get to the back, things will have gotten quite messy. Depending on the blog you read, some will tell you to tape up all the seams and holes of the camera to avoid getting dust and grim inside the camera. I haven’t found it super necessary as long as you’re careful. After I started, I did tape up the back seam when I was removing the thick hard layer of yellowed glue on the back part.
Once you have all the leather off from both sides, give it one more once over with the Goo Gone and Rubbing Alcohol to clean up the last of the mess.
Step 2 — Tracing the pattern
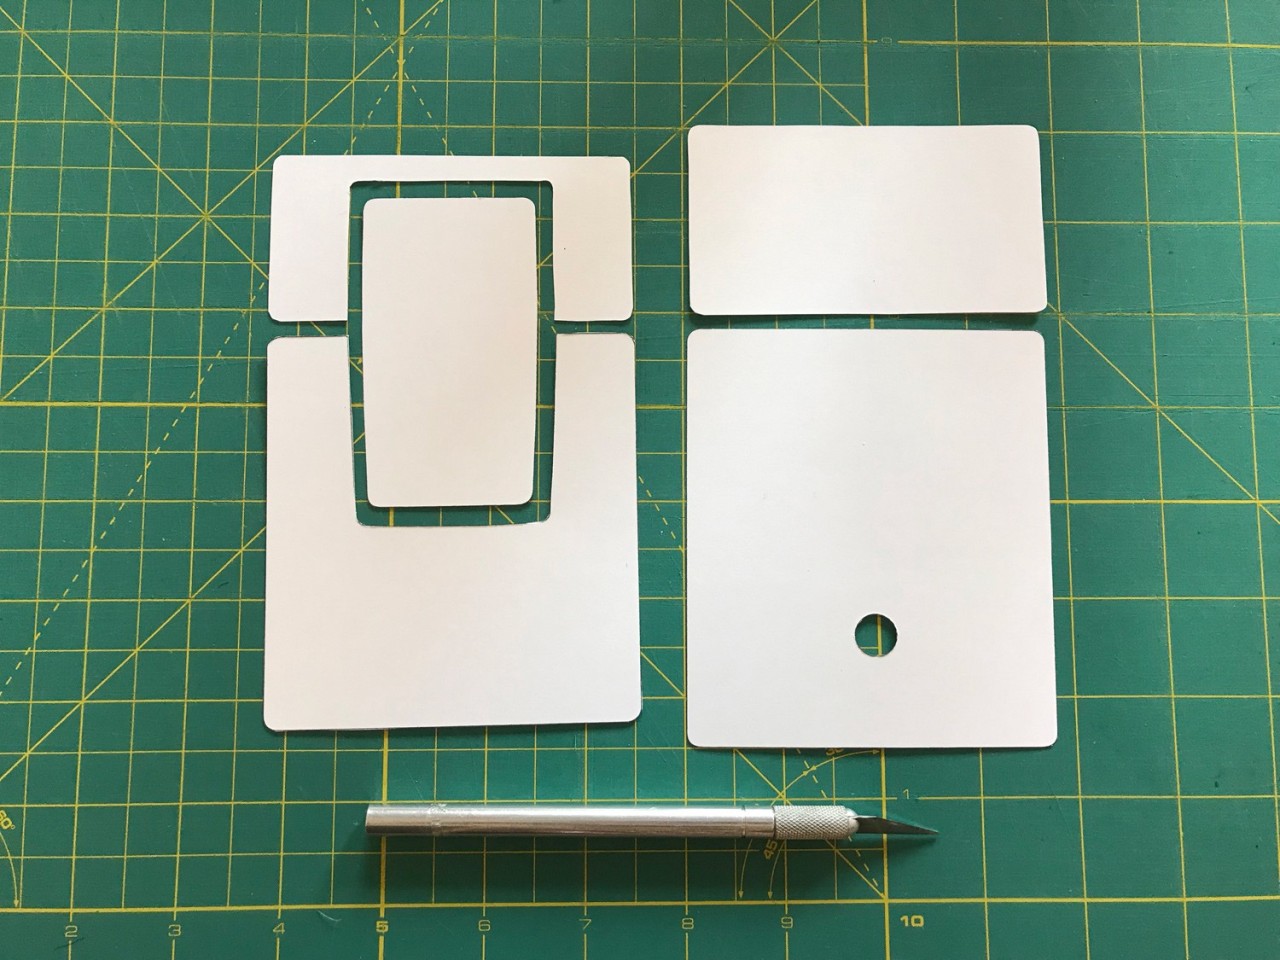
Thanks to sdzn.ch of polaroid-passion.com for producing the fantastic pattern that I used to trace out on the rubber.
Once downloaded, print out the pattern on some cardstock at 100% and then use an Xacto knife to cut out the pattern.
Then, take the cut pieces and trace it onto the material you’ll be using.
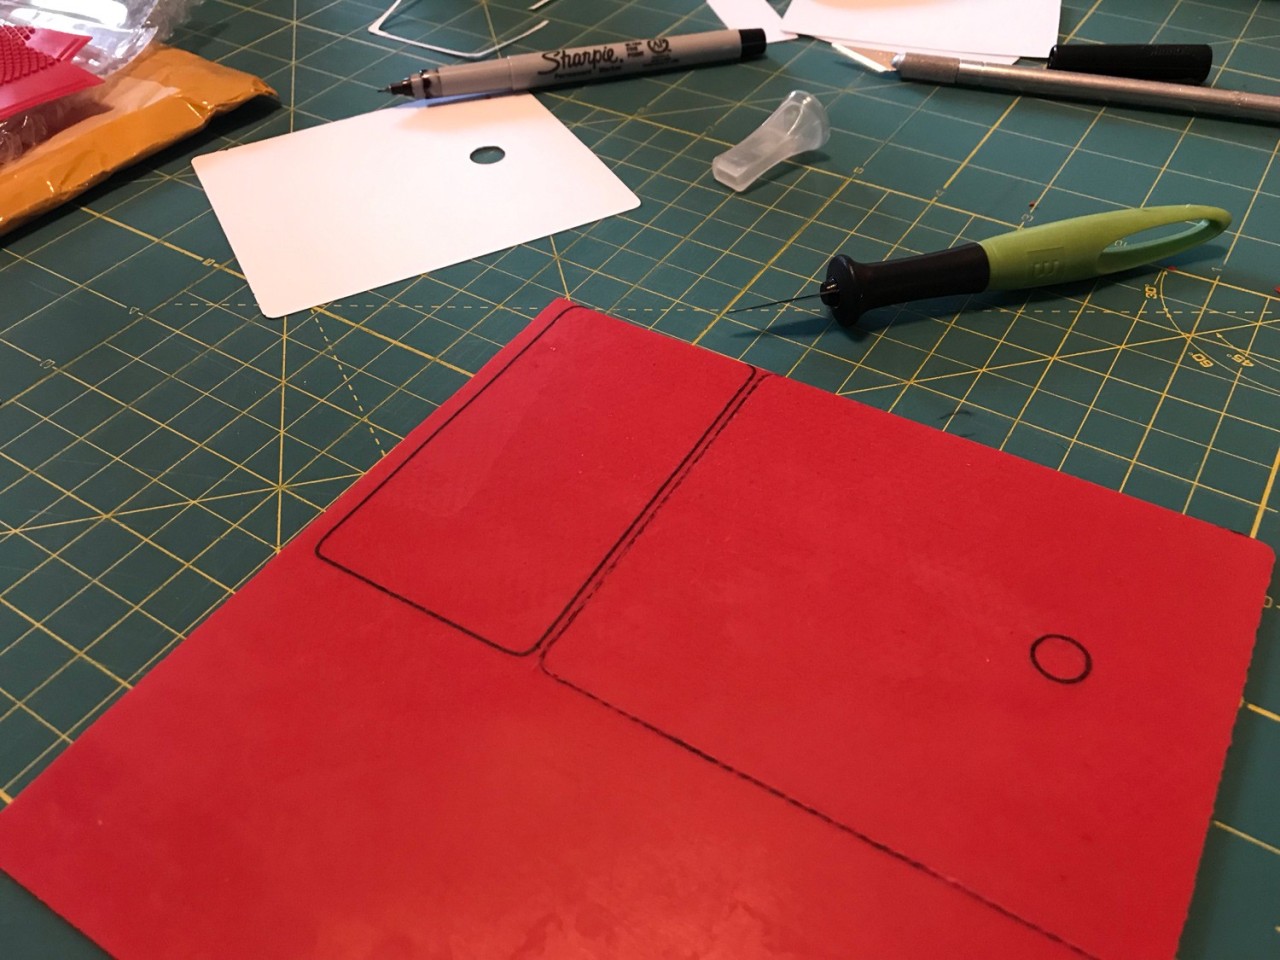
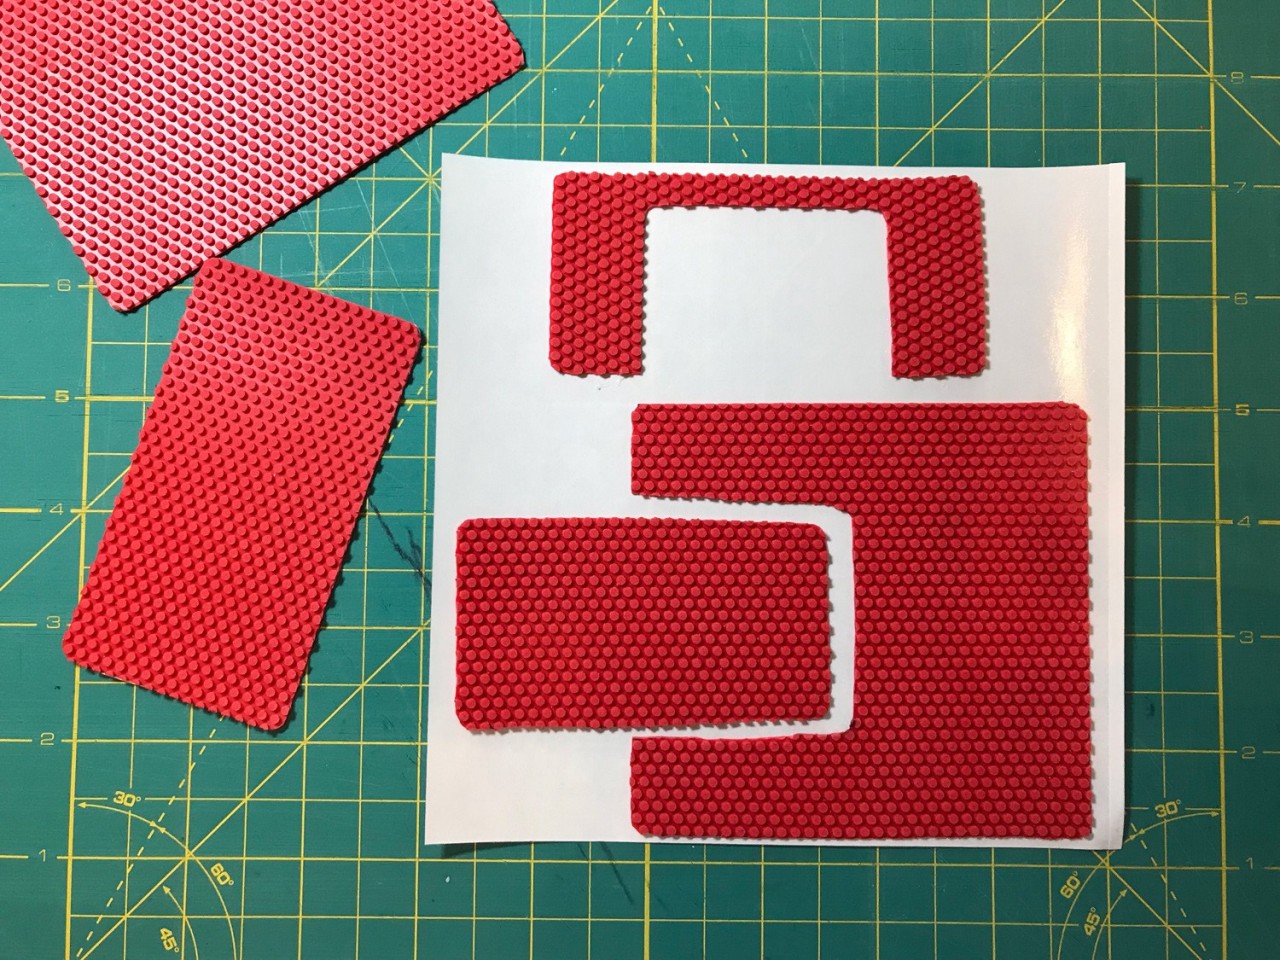
With the table tennis rubber, I tried tracing it onto the back but it was too hard to cut out — so I flipped it over and traced it on the front pips.
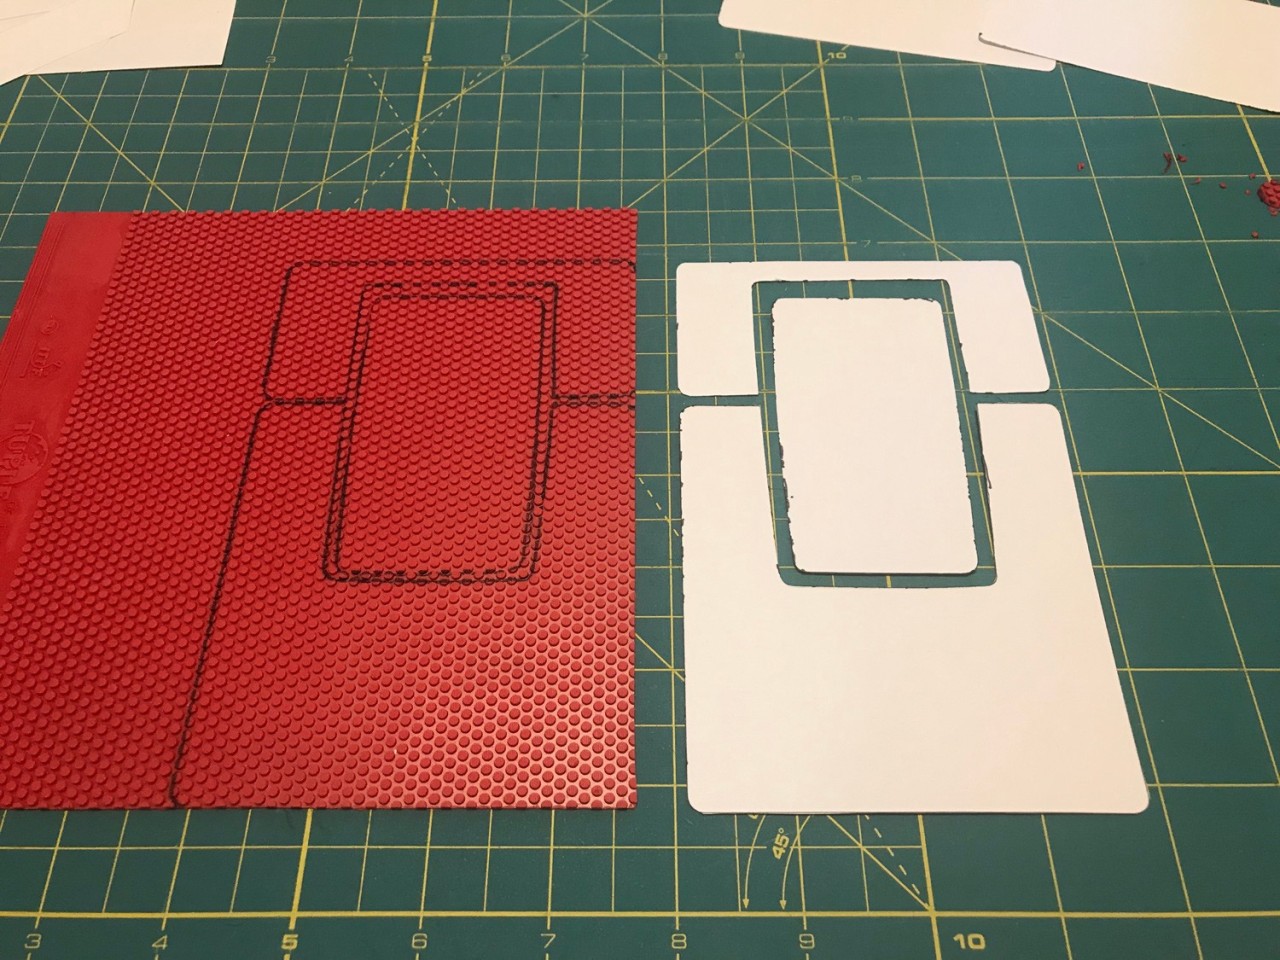
Once all the pieces are traced, it’s time to cut them out with the Xacto knife.
Depending on what material you’re using it may be easier or hard to cut out, the table tennis rubber was quite hard to cut and you had to go quite slow to get a nice straight trim.
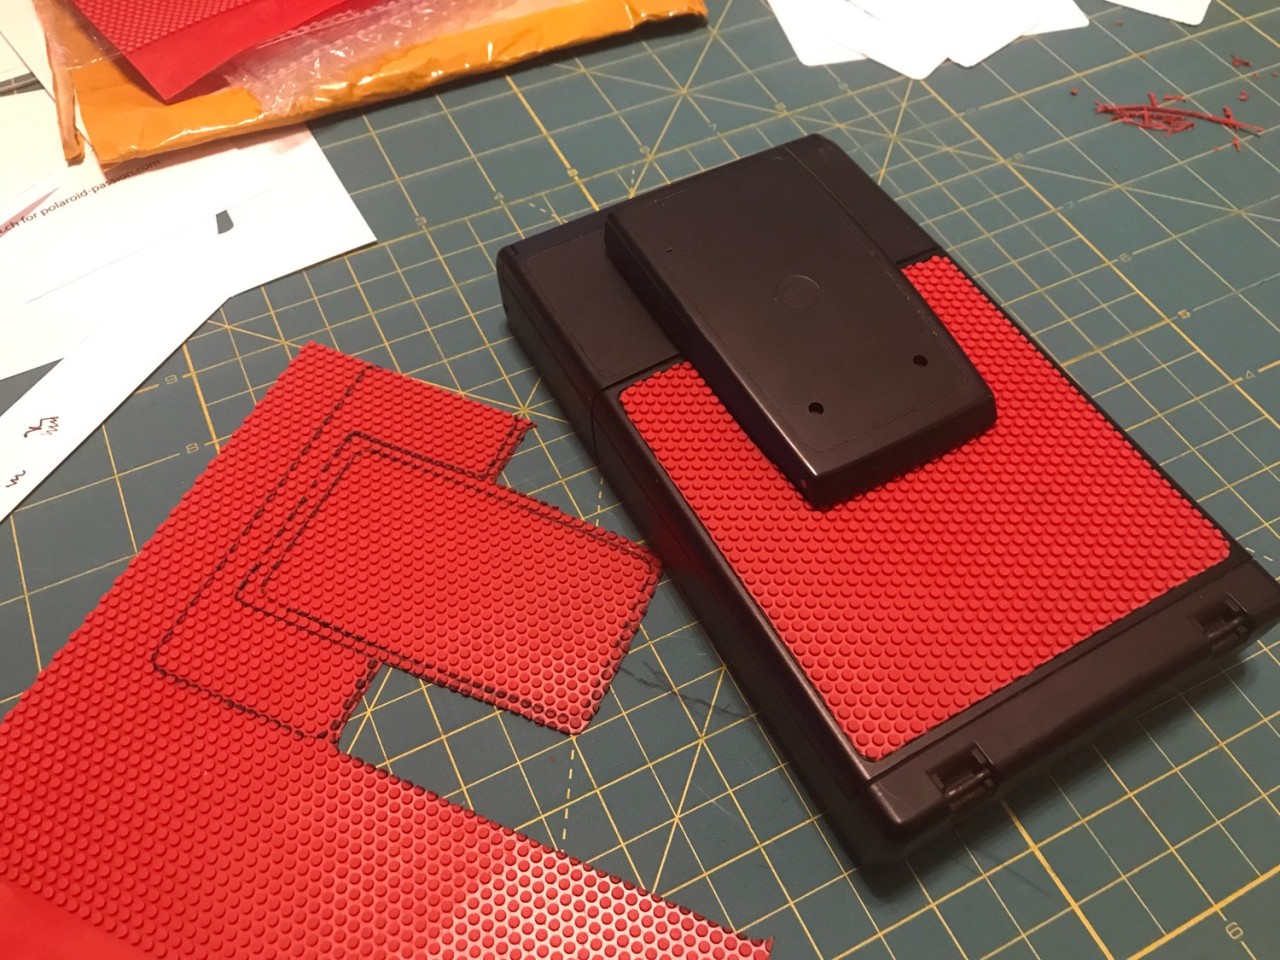
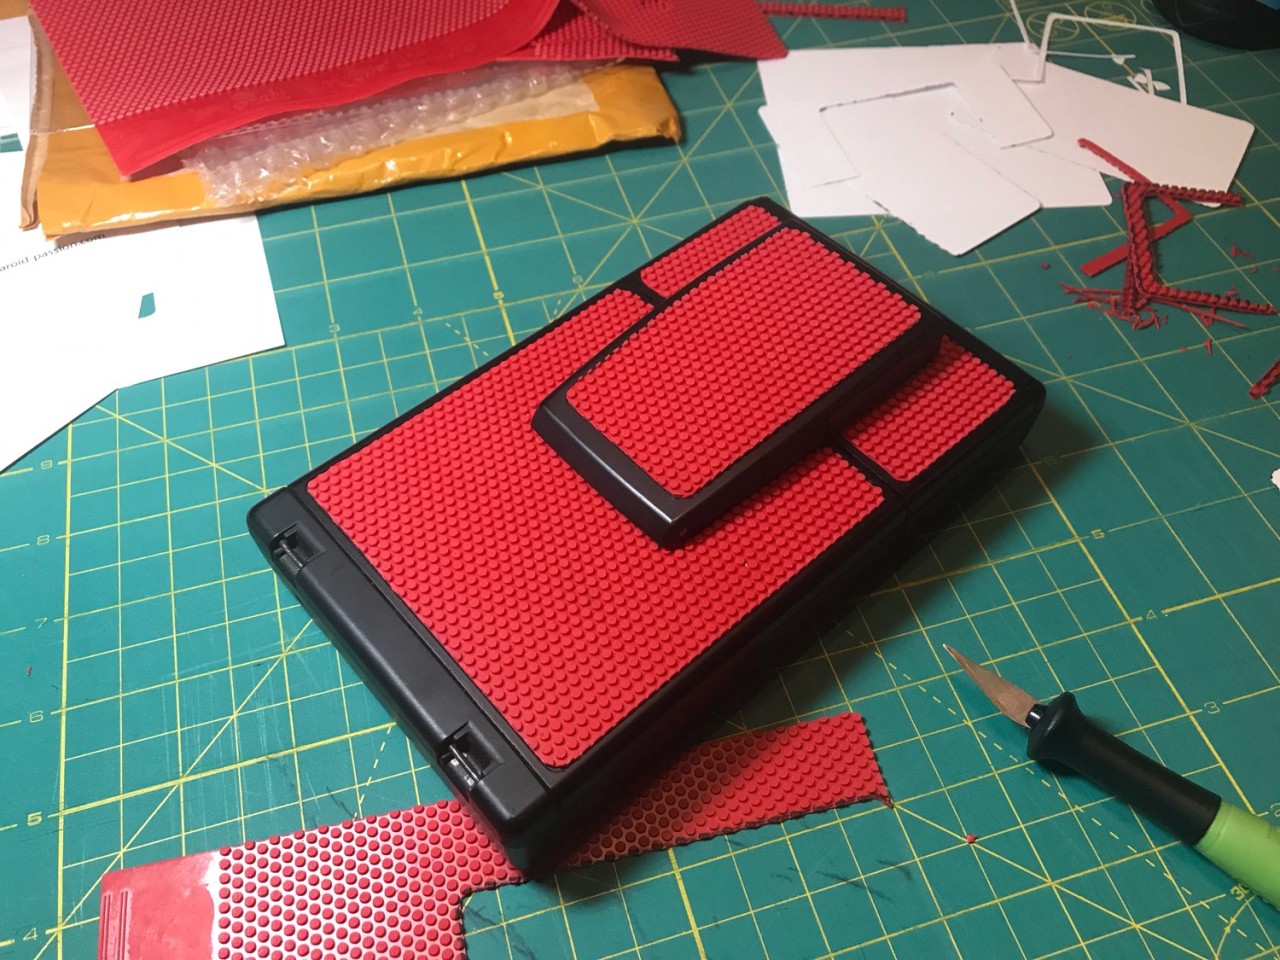
Test fitting one of the cut pieces
Sept 3 — Sticking the rubber to the camera
This is where you’ll need the adhesive sheets. I had purchased some at Michaels that were a bit smaller than I would have liked, so I had to use a couple sheets to fit all the pieces.
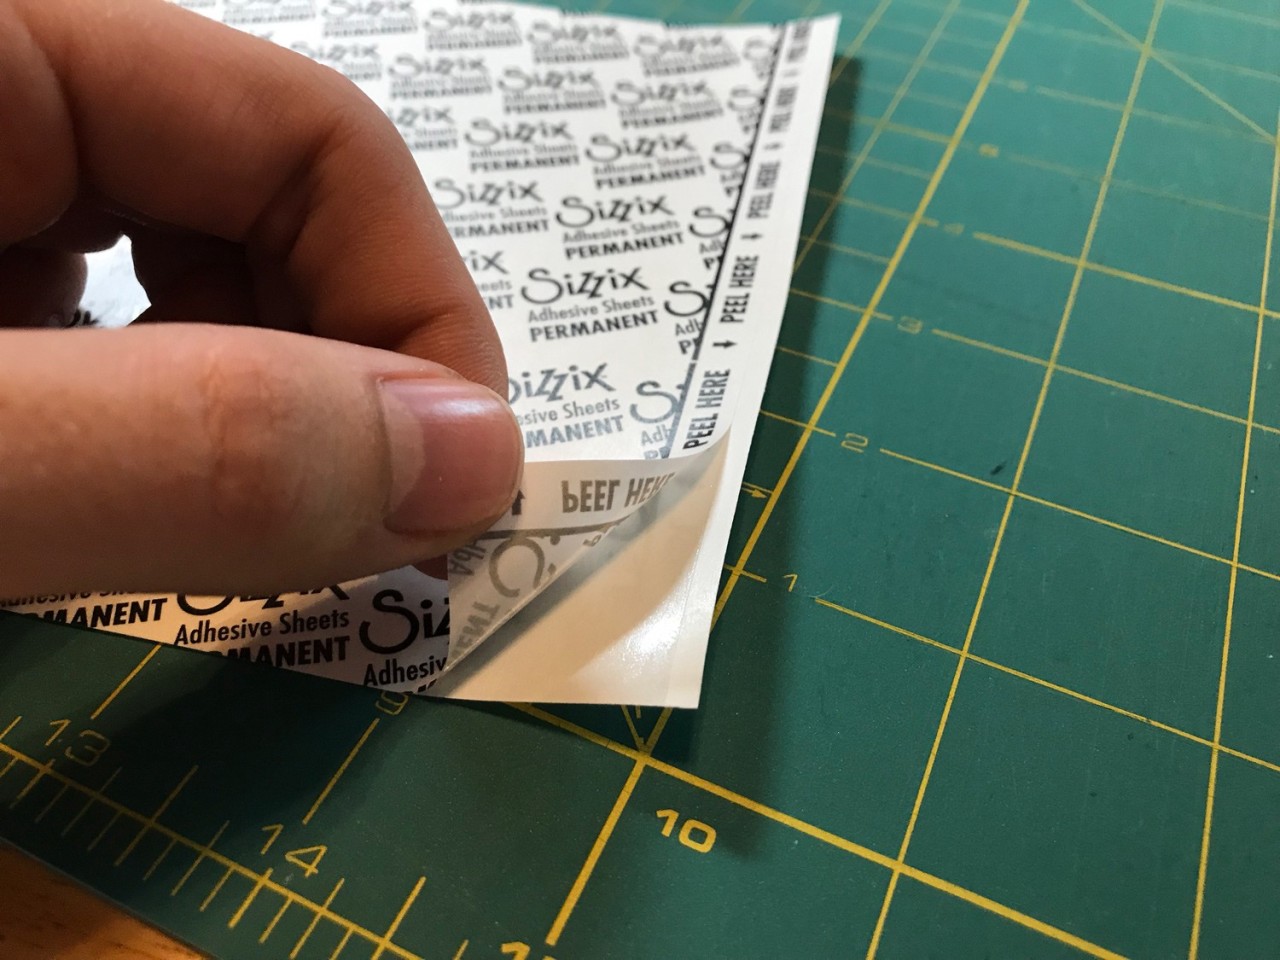
In hindsight, I should have stuck the adhesive sheets to the rubber before I cut the pieces out, but I was able to cut pretty close to the rubber so it turned out okay.
Once all the pieces are cut out, give the camera body a once-over with rubbing alcohol to remove any oils from your hands that may be on the camera.
Piece by piece, remove the backing on the adhesive sheet and carefully place the pieces on the camera. There’s no tips for this process, take it slow and make sure to line up the edges.
And that’s it! You’ll have a fresh new skin on your Polaroid SX-70 of whatever material you used.
Overall, I’m happy with how the table tennis rubber looks and feels. It took a long time to locate some long pips-out rubber online at a low cost (since I’m only covering a camera with it), but it’s been well worth the wait.
I can’t wait to get out with this camera.
Happy shooting!
Polagraphic is a community-driven publication with the goal of spreading knowledge and bringing us together around analog photography.
How can you be involved?
You can engage with us and share your work using the hashtag #polagraphic on IG & Twitter, or if you have more to say - you can submit your own articles to be published on our blog.
If you have an idea for an article or topic that you would like to see in our print edition, please Contact Us!